Sprouting microgreens for your chickens provides them a nutritious treat they'll love - in just 5 days!
Microgreens have become popular in human cuisine over the last few decades and with good reason. They add not only a pop of green on the plate and a bit of delicious crunch, they're also packed with nutrients and anti-oxidants.
But they're not only for people. Your chickens will love them too!
How (and Why) to Sprout Microgreens for your Chickens in 5 Days
Microgreens are easy to sprout and will be ready to share with your flock in just 5 days (although "true" microgreens do require a bit longer of a growing period to grow their first true leaves).
But regardless of what you call them, I like to grow them for my girls especially in the winter when they don't have any fresh grass or weeds to eat. It provides them lots of the nutrients they would get from free ranging.
Why Sprout Microgreens for your Chickens
Because they are so small and compact, microgreens are literally packed with nutrition.
Studies have shown that microgreens can contain up to 9 times the nutritional value of the fully grown plants and up to 40 times the vitamins and anti-oxidants, so why not grow some for your chickens and ducks?
You'll save a little money on chicken feed by feeding microgreens because the seeds are inexpensive and just a few tablespoons will make a whole tray of sprouts.
But the best reason is that your chickens and ducks will LOVE them!
So why sprout microgreens?
- packed with nutrition for your flock
- much more economical than other types of chicken treats
How to Sprout Microgreens for your Chickens
Microgreens are super easy to sprout. You don't need any dirt and you don't even need to set them in the sun. Pretty much anything will sprout, so experiment with all different kinds of seeds or grains. I like to use this mix of seeds which includes:
I also included the link to the mix I use at the bottom of this post, but you can use any combination of seeds you want or can also try sprouting any leftover veggie seeds you didn't plant in your garden.
You only need a tablespoon or two to get started.
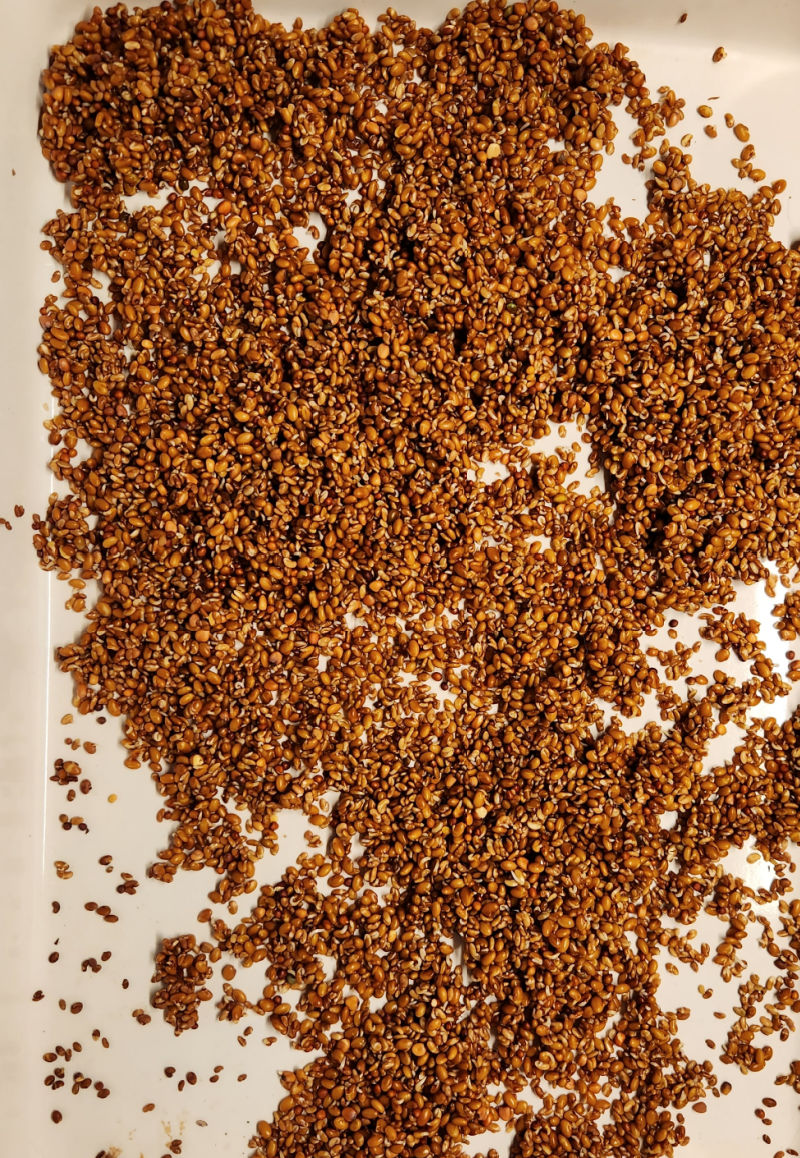
Day 1
Pour your seeds into a casserole dish or tray. Add water to completely cover them and let them sit overnight on the counter.
Day 2
Drain the water (I pour the seeds into a fine mesh strainer), rinse the seeds and drain well. Spread the seeds back out in a single layer in the tray. Repeat in the evening.
You might already notice some of the seeds have split and are starting to grow!
Day 3
Rinse, drain and repeat a second time in the evening.
You definitely should see some sprouting going on by now!
Day 4
Repeat Day 3.
Almost ready!
Day 5
Repeat Day 3.
By now you definitely should be seeing nice bright green little leaves on your sprouted microgreen seeds. You can go ahead and feed them to your chickens and start another batch, or let them go a few more days.
Sprouting Tips:
- The key is to drain the seeds well each day. They can mold if they sit in water.
- You don't need to set the tray in the sun. The kitchen counter is fine.
- You can use a tray, casserole dish, mason jars, regular bowls, or whatever you have on hand.
This is the seed blend that I used.You might also be interested in reading ...
Pin This!


.png)
