How to Grow your Own Garlic (it's easy!)
Flashback to 2012.... I had been wanting to try growing my own garlic for some time.
Not only do I cook regularly with fresh garlic and we eat a lot of it ourselves, I also supplement our chickens' diet with fresh minced garlic as well as add whole cloves to their water.
Garlic is a wonderful addition to your chicken's diet and has natural worming properties as well as benefits for their immune system.
So we go through quite a bit of garlic.
Several years ago, I finally gave it a try - and I'm hooked!
How to Grow your Own Garlic (it's easy!)
It turns out garlic is pretty easy to grow. It prefers full sun and well-drained soil, so plan your planting spot accordingly.
You just basically stick a clove in the ground in the fall (5-6 weeks before the first expected frost in your area) and in the spring you'll have grown an entire bulb.
Okay, it's not quite that easy, but almost!
And the best part is that, for the most part, insects leave it alone as do deer, rabbits and moles.
When to Plant Garlic
Fall planting with an early summer harvest is recommended for the largest, tastiest bulbs, but in the South you can plant in February/March as well and harvest in the late fall.
(Planting should be done early enough in the fall to give the cloves time to sprout some roots before winter sets in.)
How to Plant Garlic
*Although you can plant store-bought garlic cloves, it is preferable to find an organic bulb or local garlic at a farmer's market, so you know it hasn't been treated with any pesticides or chemicals.
- Break the bulb into individual cloves
- Choose the largest cloves to plant (save the smaller ones to cook with or give to your chickens!)
- Be sure to leave the papery covering on the cloves
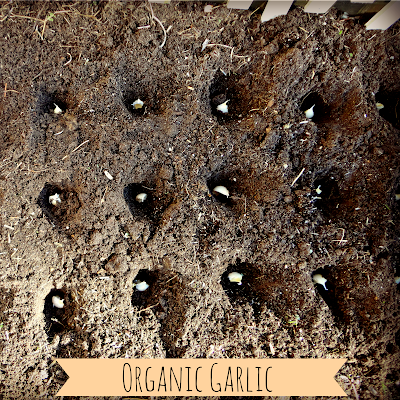
- Plant the cloves tip side up about 4-6 inches apart and with the tip about 2 inches below the surface
- Mulch the cloves you just planted with about 4 inches of chopped straw, dried leaves or hayThe mulch will keep the soil a more even temperature through the winter which helps the roots remain in place and also helps to retain moisture and keep weeds down.
What Can I Plant Near my Garlic?
Garlic is a natural fungicide and pesticide, so it will help reduce aphids on your tomatoes or roses.
It also is a good companion plant for fruit trees, strawberries, cabbage, cauliflower and broccoli. Due to its pungent nature, moles, rabbits and deer tend not to bother with it. Bugs don't eat garlic either.
Spring Maintenance for your Garlic
In the spring, when the green shoots start to poke through the ground, you can remove any remaining mulch or leave it as weed control.
Remove the Scapes
In late spring, start to snap off any "scapes" that appear. The scapes are the thin curly stems that grow up from the center of the clove. They drain energy from the plant that is needed to grow the new bulb. Garlic plants without the scapes removed will be much, much smaller than those that have the scapes snapped off.
But don't toss them!
They're delicious cut into short lengths and tossed into a searing hot cast iron skillet with some olive oil, salt and pepper, chopped up in salads, or turned into pesto. Or you can chop them up and add them to salads for a pop of flavor.
How to Harvest your Garlic
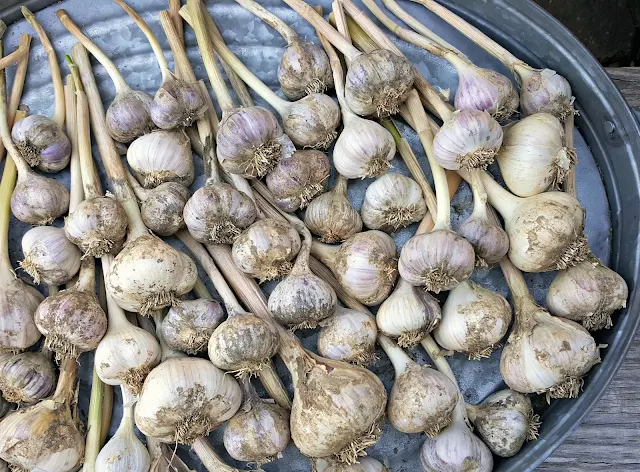
The garlic is ready to harvest when the leaves turn yellowish-brown and are starting to fall over. Usually late July here in Maine.
- Using your fingers or a small rake or trowel, carefully dig up the bulbs.
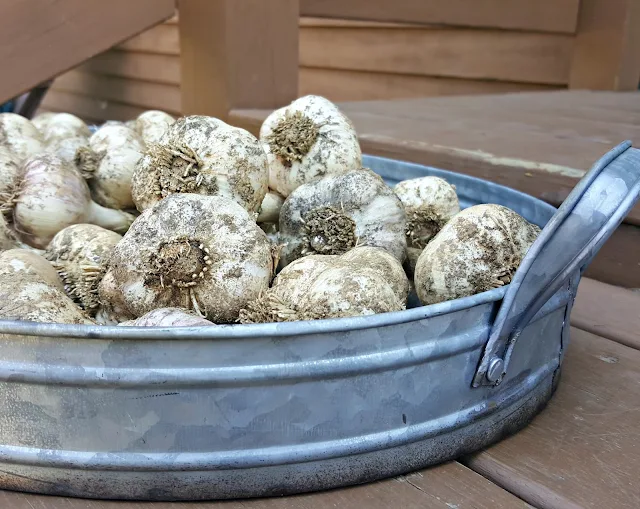
- Gently wipe off any dirt from the bulbs and then leave them to dry in a cool, shady spot with good air ventilation for at least two to three weeks (a few more weeks if you live where it's humid or damp).
- After two weeks, you can braid them or tie them into bunches to dry further.
- Or you can just trim off the roots and most of the stalks and lay them on a clothes drying rack or an oven rack.
How to Store your Garlic
After a few more weeks, once the outer wrappers are dry and papery, you can then cut the tops completely off and store the garlic bulbs in a pantry for several months.
Or just leave the bulbs braided hanging in your kitchen, a cupboard or pantry and cut them off one by one as you need to use them.
Be sure to save some of the largest cloves. In the fall, replant them for the following spring's harvest.
6/11/2013 Update:
I just harvested my first garlic bulb!
Mid-June, maybe a bit early because it's kind of small, but still, I'm impressed! I grew a whole bulb from just one clove!
And it was super easy! It smells SO good! So much more pungent and fresher than store bought.
I'll leave the others for a few more weeks before I harvest them, but we'll enjoy this bulb now!
October 2015 Update:
We have moved to Maine and I switched the varieties of garlic I'll be trying. I chose some extremely cold-hardy types of garlic including Music, Siberian and Russian Red.
9/17/2018 Update:
We haven't bought garlic for more than three years now (and that was only because we moved to a different planting zone, so I switched up the varieties of garlic I am growing. I absolutely love planting garlic and am so glad that I took the plunge back in 2012. I hope you will give it a try too!
10/27/2023 Update:
I got 75 cloves of garlic planted yesterday in our raised beds here in Maine. It's such a reliable, low-maintenance crop. I can't ever imagine NOT growing my own garlic. Mid-October is usually a good time to plant here in Maine. You want to get your garlic in the ground about a month before the ground freezes.
One of my favorite ways to use garlic in my chicken keeping is to infuse some fresh slices in apple cider vinegar for a one-two punch!
Have to ever planted garlic? If not, I hope this article will give you the confidence to try? Be sure to check out the USDA planting map for your area before you get started.
 |
| Photo courtersy of UMaine Cooperative Extension |




.jpg)


