Planting Herbs in DIY Vintage Inspired Tin Cans
Save those tin cans! They make beautiful DIY herb starters or windowsill planters.
I look forward to spring and starting seeds indoors in preparation for transplanting them outside in the garden. I especially like to start herb seeds, since the plants are generally small and can stay inside a bit longer than other crops if the weather doesn't cooperate with you.
Herbs are also fairly easy to start from seed - and maintain - and do quite well in small containers on the windowsill, so you can even plant them in the fall or winter to have fresh herbs all winter long. In the past, I have used K-Cups, eggshells and traditional seed starter cups to start my seeds in.
Planting Herbs in DIY Vintage Inspired Tin Cans
This year, I decided to make some pretty vintage-inspired tin can starter cups using seed packets from Baker Creek Heirloom Seeds. The packets are so pretty and vintage-y, especially once the fronts are trimmed using craft scissors to make a lacy border.
Easy to do, all you need to make these starter cups is some seed packets, tin cans (dog food, soup, vegetable, etc.), outdoor Mod Podge and potting soil.
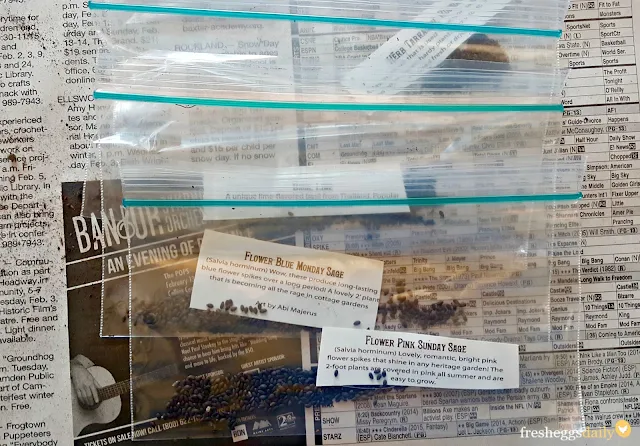
I decided to plant pink Sunday sage, blue Monday sage, cilantro, tarragon, and lime basil, but you could also start lavender, lemon balm, mint, oregano, parsley, rosemary, sage or thyme.
An assortment of seeds in pretty packets (I got mine from Baker Creek Heirloom Seeds)
An assortment of tin cans
Craft Lace Edge scissors (something like this)
Nail
Hammer
Potting Soil
Plastic wrap
Squirt bottle
What you Do |
Remove the labels from your cans and rinse them well in a mix of white vinegar and water to be sure they're clean and bacteria-free. Let dry. Using a hammer and nail, make several drainage holes in the bottom of each can and set aside.
Carefully open each seed packet along the seams (separate the seeds in small dishes or plastic baggies if you won't be planting them all right away) and lay flat. Using the craft scissors, cut the front of the label to fit each can.
(Hang onto the backs of the labels for the planting instructions and other important information about the seeds.)
Using a foam brush, apply the Mod Podge to the back of each label, then carefully position on the side of each can. Apply more Mod Podge to the front of the labels, smoothing out any wrinkles. Let dry completely, then apply 1-2 more coats.
(Note: outdoor Mod Podge isn't completely waterproof, just water resistant, so use care when watering your seeds not to splash excessive water on the labels and I would recommend these for indoor use only)
Once the labels are completely dry, fill each can with potting soil, then press several seeds into the surface and lightly cover with more soil.
Carefully water the seeds (I like using a squirt bottle), then cover each with a piece of plastic wrap to help maintain the moisture levels and set in a warm location in your hours, such as over a radiator or on top of your refrigerator.
Keep an eye on your soil conditions - be sure it stays moist but not waterlogged - and don't let your soil dry out. Once the seeds start to sprout, you can remove the plastic wrap and set the cans in a sunny windowsill or under a grow light.
Continue watering as needed. If you have planted the seeds too close together, thin them out as the seedlings grow. Choose the largest, strongest, most healthy looking seedlings to keep and gently pull out the others and feed them to your chickens. They'll love this unexpected treat!
 |
 |
 |
 |
 |
 |
 |
 |
  |
 |
| - |
 |
 |
Transplanting your Herb Plants
Continue watering your seedlings for several weeks. Wait to transplant your seedlings until they are 2-3 inches tall and have at least two sets of leaves.
Before you put them outside permanently, you will need to 'harden them off' and get them used to the outdoor temperature and environmental conditions.
Do this by carrying the cans outside to a protected sunny location for a few hours during the warmest part of the day, then bring them back indoors. Do this for a week or so to slowly acclimate them.
Once they are ready to go outdoors, carefully turn the can over, insert a butter knife around the edge to loosen the dirt, and shake gently until the seedlings fall into your hand.
Don't pull the seedlings out by the stems, instead gently pull on the leaves if you need to. A plant can live if one or two leaves are damaged, but it will die if the stem is broken.
Separate the seedlings carefully, being sure not to damage the roots - according to the spacing on the back of the packet. Place the seedlings in the ground so the potting soil level is the same as ground level. Pat the soil around the plant and water well.
Keep your cans to use again as seed starter cups, windowsill planters or even vases for cut flowers.
A Few Tips for Starting Seeds
- Buy only quality seeds from a reliable supplier and only store seeds for a season or two - longer than that and your germination rate will start to drop
- Be sure to time your planting correctly if you plan on transplanting your seedlings outdoors - this will require checking your planting zone and last frost date
- Use potting soil, not garden dirt, to ensure the small, tender roots can easily grow in it and that you're not transmitting any soil-bound diseases to your new seedlings
- Fill your containers loosely with soil to about 1/2 inch from the top of the cans
- Plant smaller seeds more shallow than larger seeds. As a rule of thumb, you should plant your seeds 2-3 times as deep as the seed is large


