Saving and Planting Nasturtium Seeds
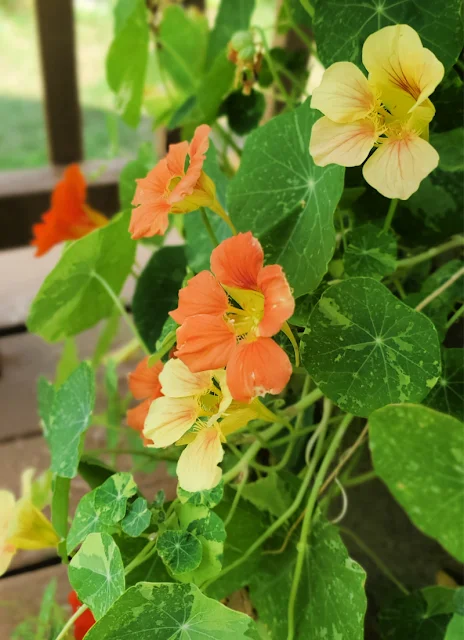
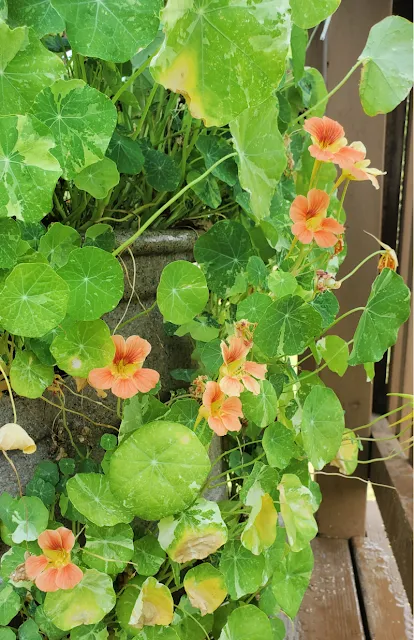
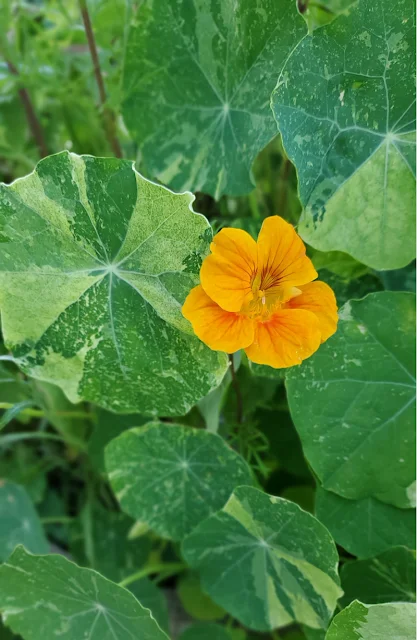
Each spring I always buy a couple of packets of different varieties of nasturtium seeds and plant them in containers around the chicken coop and yard, then eagerly await the flat, round, mottled foliage and vibrant blooms in beautiful shades of red, salmon, yellow orange.
With dozens of varieties, there are more than enough to choose from to create a beautiful kaleidoscope of color with these fast-growing plants!
Like many edible flowers and herbs, nasturtium are not only super beneficial for chickens in helping to prevent internal parasites, the leaves and flowers are also edible for humans and add a peppery bite to salads or sandwiches or a bright flowery garnish for cocktails or desserts.
Nasturtium are jam-packed with beta carotene, vitamin C, iron and manganese, so I plant nasturtium all around the chicken coop and yard each spring.
My chickens love munching on the leaves and flowers all summer long! Which is a good thing because nasturtium is also though to work as a laying stimulant, antiseptic, anti-fungal, antibiotic, insecticide and to support respiratory health.
Saving and Planting Nasturtium Seeds
But it wasn't until this year that I realized just how easy it is to collect and save the seeds from my nasturtium plants to replant the following spring.
For the first time, I planted some nasturtium last spring in a planter on the back deck, instead of in wooden barrels around the chicken coop and yard.
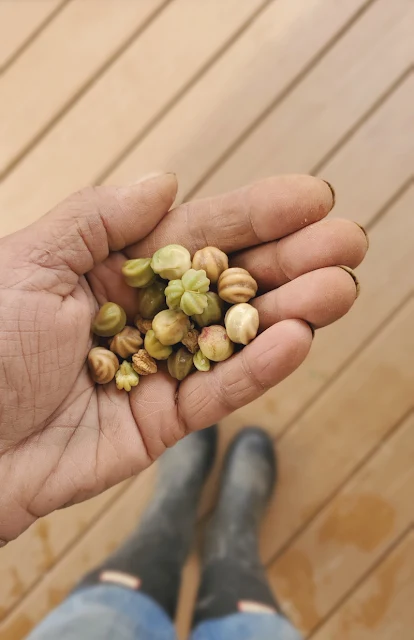
Imagine my surprise to see light tan balls littering the deck that looked just like chick peas! I had never noticed them laying in the grass around the planters before. But then to find out that those are the nasturtium seeds....
Saving Nasturtium Seeds
Nasturtium seeds grow on the stems/vines, not in the flower itself. They are initially green, but then after the frost hits the flowers and vines, the seeds will turn light tan and fall off the vine to the ground.
At this point they can be collected and air dried in a cool, dry spot, then stored until the following spring in an envelope or small paper bag.
If the seeds are left on the ground in the dirt, there's a chance they will reseed the following spring, but they need darkness to germinate, so saving the seeds and replanting them is a more sure bet.
Growing Nasturtium
Nasturtium are super easy to grow, and since they trail, they work well in containers, hanging baskets, window boxes or as ground cover.
They will also climb up a trellis or fence if you train them. I plant them in barrels along my chicken run so the vines can climb up the run fencing and the chickens can nibble any leaves or flowers that grow on their side of the fencing.
Nasturtium aren't cold-hardy at all, and always one of the first flowers I lose each fall, so be sure to wait to plant your seeds far enough into the spring to be sure you won't be getting temps below freezing any longer. Freezing temperatures make nasturtium sad.
Planting Nasturtium Seeds
Seeds can be started indoors 4-6 weeks before the last frost date for your area, or planted directly in the ground after the danger of frost has passed.
Since they don't transplant terribly well, I prefer to plant the nasturtium seeds right in the pots (or the ground) in late spring.
Nicking the skin of the seeds with a knife or soaking them in warm water overnight can help to speed up germination.
Nasturtium do best in full to part sun. Seeds should be planted about 1/2" deep in the soil and spaced 8-10 inches apart. Seedlings should emerge within 10-12 days of planting.
Growing Nasturtium
Nasturtium actually thrive on a bit of neglect (my kind of plant!). They don't need to be fertilized and actually poorer soil will result in more blossoms.
They do need to be watered if you don't get much rain, but they prefer the soil to dry out completely between waterings and do tend to like dry conditions in general.
Nasturtium will bloom all summer long. Deadheading (removing dead blossoms) throughout the season will result in more flowers. The plants are not cold-hardy and will die with the first frost.
At that point, the foliage should be left until the all the seeds have fallen and been collected. Then the dead foliage can be pulled out.
As an aside, I''m told that the green seeds (before they dry out) can be pickled and eaten like capers, but I haven't tried that yet. I'm happy to plant them next spring and not have to buy new seeds!
Pin This!


