

Seed Starting Tips for Beginners (and Everyone Else)

Whether you plan on getting a jump on the growing season by starting seeds indoors or you're planting your seeds right into the ground once the danger of frost has passed, using these simple tips will increase your odds of a higher germination rate and a more bountiful garden.

Seed Starting Tips for Beginners (and Everyone Else)
Of course each different plant has a different type of seed and specific way it likes to be planted, but these basic tips will help you no matter what you're planting.

Start with Quality Seeds
You should start with seeds from a reputable seed company. Another option is to save your own seeds year to year or to share with a friend who also gardens.
But no matter where you get your seeds, be sure that they haven't expired (yup, seeds do come with an expiration date!) and that they have been stored properly, meaning in a cool dry place out of directly sunlight where they haven't gotten wet or too hot or cold.

Start with Good Soil
Of course good gardening begins with the proper soil. You will have much better success if you plant your seeds in a potting mix instead of regular dirt.
Choose a good-quality potting soil for seeds you're starting in seed starter cups, pots or containers. A good-quality potting soil provides an optimal environment for the seeds to germinate and grow in. It has a loose structure and space between the components to allow air to circulate and the seeds to easily put down roots.
A good potting soil will drain well, but also retain water and increase the time it takes to dry out. Seedlings need plenty of moisture to grow and letting the soil completely dry out between waterings isn't optimal.

I'm using Glee Potting Mix for my seeds for a couple of reasons. I love that Glee has been formulated to be used for herbs, flowers, veggies.... pretty much anything you might be growing. It also is lighter weight than other potting mixes meaning the bags aren't nearly as heavy for me to lug around the yard!
But the thing I love most about Glee Potting Mix is that it doesn't have those little round white balls in it that other potting mixes contain. I did research and they're harmless if the chickens eat them, but I still just don't like the idea of my chickens going through the soil and picking out the white pieces - and trust me, they will!
Glee Potting Mix uses HydraFiber as its base, which is made from renewable pine tree fibers, and mixes it with ingredients like ethically-sourced Canadian sphagnum peat moss, limestone, and others.
The renewable pine and peat moss sources, lack of imported perlite, and shipping in smaller bags all combine for improved sustainability and a greatly reduced carbon footprint.
And that makes me happy. But back to those tips for starting your seeds.

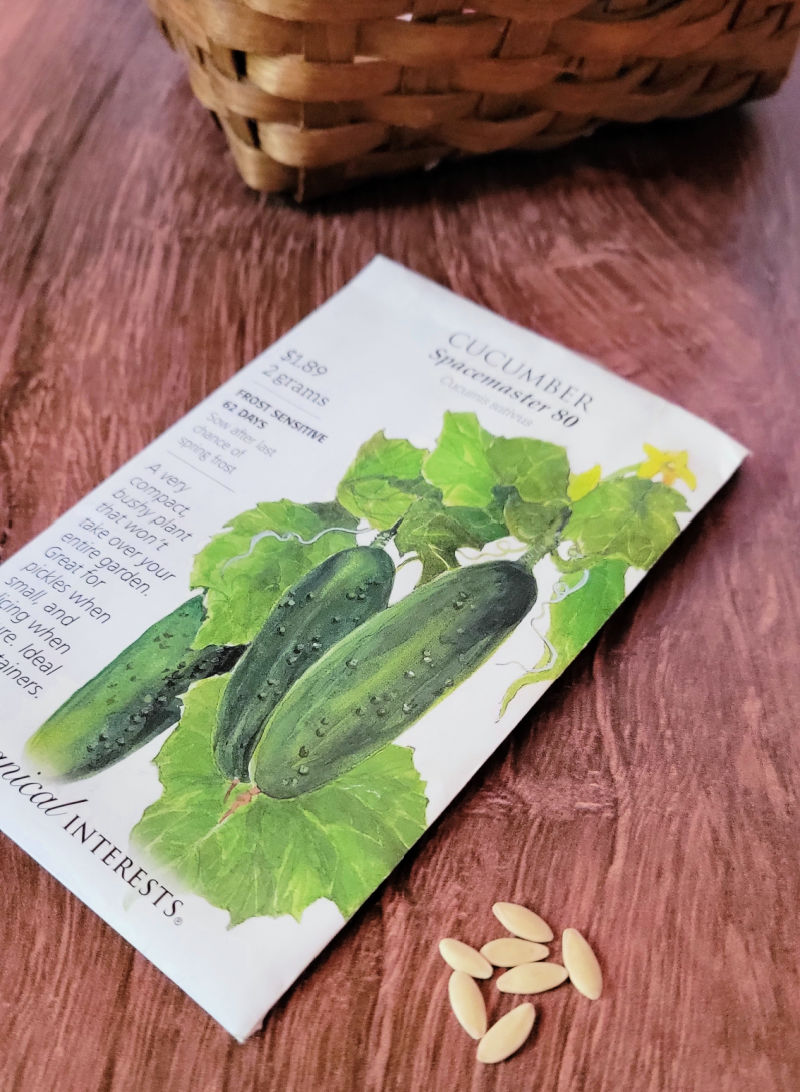
Read the Back of the Seed Packet
Fortunately for us modern day gardeners, nearly all seed packets have planting instructions on the back. So flip over your packet and read what's written on the back!
When to Sow
You'll likely find the proper planting window whether you're starting the seeds indoors or outside, referencing frost dates and/or soil temperatures (and yes, garden geeks do check the temperature of their soil!).
You'll also find hints about whether the plants will transplant well or not - some just do better planting outside where they'll stay for the duration.
And some seeds require soaking or scoring of the outside of the seed with a sharp object in order to properly germinate, so pay attention to any additional information relating to preparing the seeds.
Days to Maturity
The packet will tell you how many days it should take for the seedlings to sprout and then also how many days until your crop will be ready to harvest.
It's important to know the number of frost-free days you get in your area (for example, here in Maine we can only count on about 100), to be sure what you're planting will have enough time to mature before your first fall frost.
Depth and Spacing
And lastly, the packet will list the recommended depth to plant your seeds as well as the spacing between each plant and between each row of plants. How and when to thin the plants will also be included.
With all that information you should be ready to plant your seeds like a pro!

Give your Seeds What they Need
Seeds will remain dormant after being collected and dried. They are basically asleep and will remain that way until "activated".
Seeds should optimally be used within a year of being collected for the best germination rates, but a good percentage will still likely grow as long as they've been stored in a cool spot and they're used within a couple of years.
In order to germinate and begin to grow, seeds need:
- Warmth
- Moisture
- Light
- Air
So when you plant your seeds outside in a nice spot in properly warmed soil, then water them, you're giving them what they need to thrive.
Rules of Thumb for Seed Starting
But what if there is no seed packet? Often a friend or neighbor will share seeds in a paper or plastic bag. What then?
Seed Starting Tips - Timing
Although many seeds are meant to be planted up to a month or so BEFORE the last frost date in the spring, if you're not sure about the timing, play it safe and wait a week or two AFTER the average last frost.
Pretty much anything you plant should be fine and not in danger of dying from the cold.
Seed Starting Tips - Depth
Rule of thumb is to plant a seed 2 to 3 times deeper than the seed is wide. Seeds come in all different shapes and sizes, but if you use that guideline, you'll be planting each seed at the depth it needs to thrive.
Seeds not planted deep enough that need darkness to germinate won't sprout, and if seeds are planted too deeply, they end up being spindly and weak because they used up too much energy to make their way to the surface.

Seed Starting Tips - Spacing
You'll generally want to plant several seeds in each hole you make, assuming that all won't make it. And if they do, then you'll need to thin out all but the largest and best-looking seedings.
Without a seed packet for guidance, think about how large (and/or sprawling) the plants will eventually be and space your seeds accordingly. For example, here's the recommended spacing between seeds for the following:
- Carrots 1" between seedlings, 6" between rows
- Radishes 1" between seedlings, 12" between rows
- Peas 2" between seedlings, 18" between rows
- Beets 4" between seedlings, 12" between rows
- Swiss Chard 18" between seedlings, 18" between rows
- Cucumbers 12" between seedlings, 36" between rows
- Pumpkins 36" between seedlings, 36" between rows
By planting seeds well before their expiration date at the correct depth and spaced apart from each other in good-quality potting mix in a nice sunny location once your area warms up in early spring, then keeping the seeds watered, by summer you should be picking all sorts of delicious produce from your garden!

Disclaimer: I was provided product and additional remuneration by Glee Potting Mix for this article, but all opinions are my own and not influenced by any compensation received.
Pin This!


All rights reserved.


.png)
