Decoupage Easter Eggs | Easy Copycat Pysanky
Over the years I've tried various methods for coloring and dyeing Easter eggs, see HERE and HERE and marbled eggs HERE. This year, instead I decided to decoupage some eggs.
The traditional art of Pysanky takes creativity, skill and a steady hand. The Ukranian method of decorating eggs begins with pencil drawings that are then filled in with color using beeswax to create intricate designs.
This simple copycat method can yield similar results but requires only a bit of cut and paste ability and is a fun project for kids.
Decoupage Easter Eggs | Easy Copycat Pysanky
What you need
A dozen blown eggs, any color will work
Several paper cocktail napkins with pretty, bright designs
Mod Podge Decoupage Sealer
Paper plate
Scissors
Parchment paper or egg carton
What you do |
Separate the two plies of the napkin, removing the plain backing and discarding it.
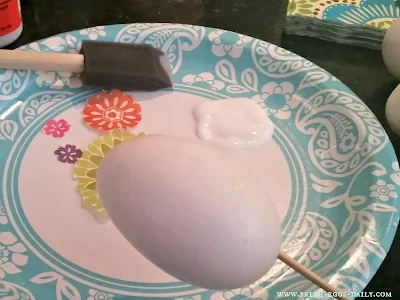
Cut out small parts of the napkin design and then brush one side of the egg with some Mod Podge using the foam brush. (Inserting the wooden skewer into the hole in the bottom of the egg makes it easier to work with.)
Carefully stick the napkin designs to the surface of the egg, overlapping the edges and then carefully brush with Mod Podge to coat. Let dry. I used my knitting blocking foam square and blocking pins to set the eggs to dry, but you can also use an empty egg carton or sheet of parchment paper.
Once dry, turn the egg over and decoupage the other side and then let dry completely. Apply a final coat of Mod Podge over the entire egg and once again set until completely dry.


