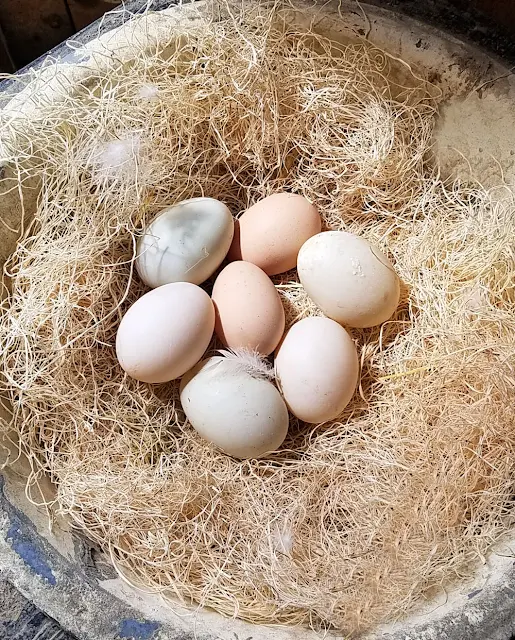
5 Tips for Clean Eggs from your Backyard Chickens
in
Eggs,
So keeping the eggs that your chickens lay clean is important for the health of your family.
It's best not to wash fresh eggs until just before using them, so taking some simple steps to ensure the eggs are clean when you collect them is important. And here's why:
The last step in a chicken's egg laying process involves the application of a thin, nearly invisible film on the surface of the eggshell called the "bloom".
This bloom helps to keep air and bacteria from penetrating the eggshell, thereby ensuring the egg's freshness and edibility. Washing the egg removes the bloom, so optimally you don't want to wash the eggs from your backyard flock unless absolutely necessary.
Once an egg is washed, it has to be refrigerated, but unwashed, an egg will last out on the counter at room temperature for several weeks, or refrigerated for several months - far longer than washed eggs.
Chicken coops and runs aren't necessarily the cleanest places and no one wants to be bringing eggs covered in poop, mud or even material from broken eggs into their kitchen, so how do you ensure that your eggs are clean when you collect them?
5 Tips for Clean Eggs from your Backyard Chickens
1.) Don't allow your hens to sleep in the nesting boxes.
Chickens poop when they sleep. So if they're sleeping in the nesting boxes, they'll be laying their eggs in dirty boxes. Since chickens instinctively seek the highest perch on which to sleep, roosts should always be positioned higher than the nesting boxes.
Allow 8" of roost space per bird to be sure there's room for everyone.
If hens persist in sleeping in the nesting boxes, lift them out and place them on the roosts after dark to condition them to roost (since they can't see well in the dark, they will most likely stay on the roost all night), or block off the boxes completely in the late afternoon once all your hens have laid their eggs.
If hens persist in sleeping in the nesting boxes, lift them out and place them on the roosts after dark to condition them to roost (since they can't see well in the dark, they will most likely stay on the roost all night), or block off the boxes completely in the late afternoon once all your hens have laid their eggs.
As part of my morning chores, I fluff the bedding in each nesting box and add more if necessary.
Too little bedding can result in eggs broken on the hard nesting box floor. I used straw in my nesting boxes for years, but recently switched to these aspen nesting pads (I really LOVE them!) which really hold their shape well.
Too little bedding can result in eggs broken on the hard nesting box floor. I used straw in my nesting boxes for years, but recently switched to these aspen nesting pads (I really LOVE them!) which really hold their shape well.
Often it's not chicken poop - but instead mud from the run or yard - that is dirtying the eggs. By positioning your nesting boxes across the coop from the little chicken pop door, you force your hens to walk the length of the coop to lay their egg, and hopefully rub the mud off their feet in the process.
4.) Discourage broodies from sitting on non-fertile eggs.
If your eggs aren't fertile, don't let your hens sit on them. Broodies hog the nesting boxes and often skirmishes will break out, resulting in broken eggs. No only will you have broken eggs, you'll have yolk and white all over all the other eggs. For tips on breaking a broody click HERE.
The more frequently you can collect your eggs, the less chance they will get inadvertently broken, stepped on by another hen with muddy feet or poop on and so on. So try and check for eggs at least a few times a day, if possible.
These tips should help ensure that your eggs are nice and clean right from the coop, so they don't require washing and will stay fresh longer. Fore more information on the handling and cleaning of eggs click HERE.
Pin This!


